Brush Editor
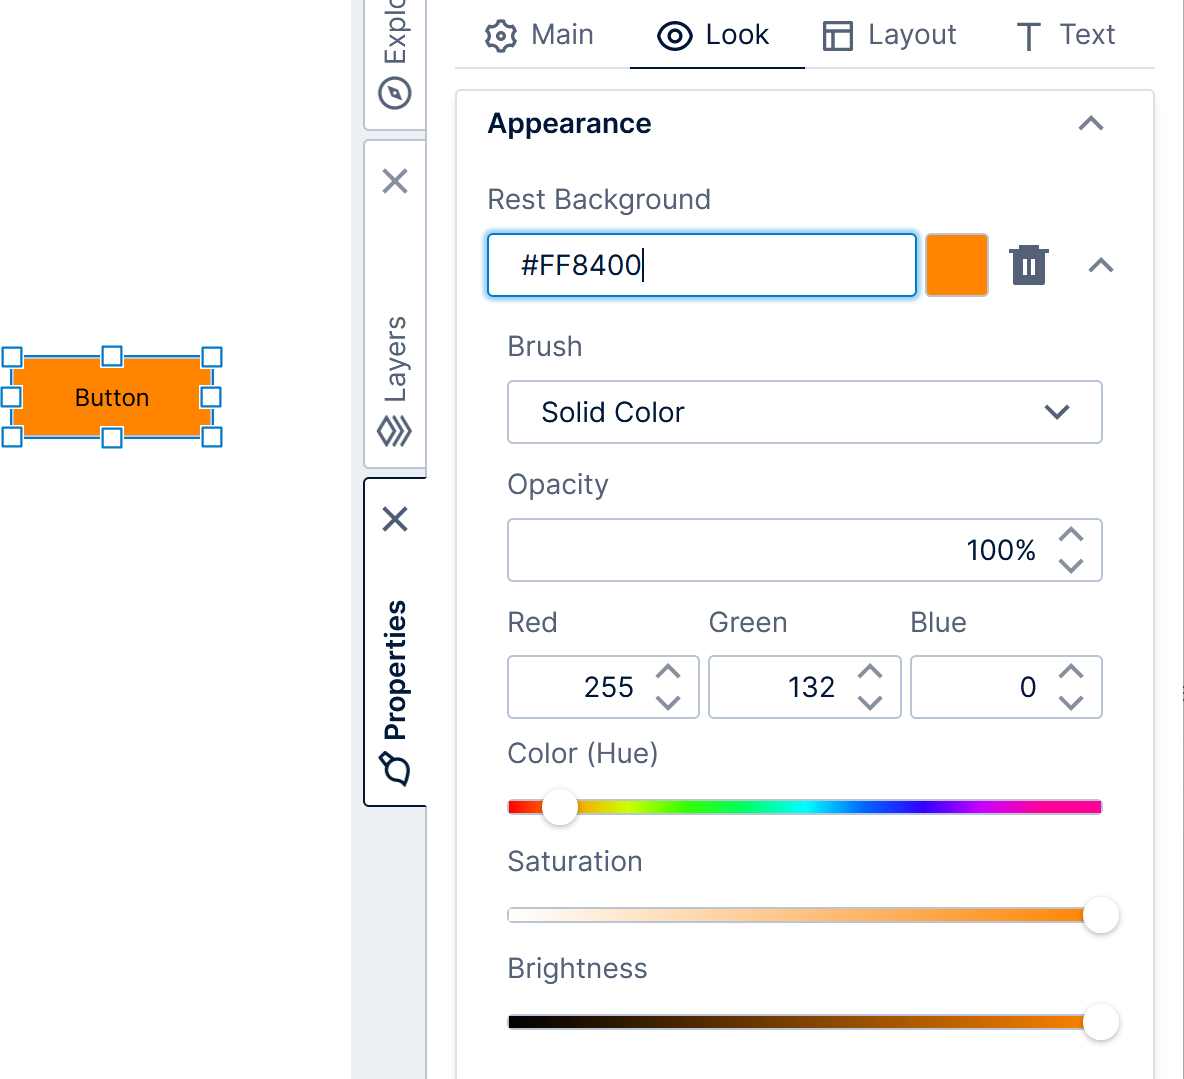
When setting a color in the Properties window, you can choose or enter a color in a number of ways:- Type a color name into the text box or choose one from the list that appears.
- Type or paste in a hex code or RGB/RGBA value like those described below to precisely enter or paste in any color.
- Click the down arrow button to expand a set of inputs and sliders you can use to interactively find and adjust your color.
| Format | Sample | Color |
|---|---|---|
| 3 hex characters | #F00 | Red |
| 3 hex characters without hashmark | F0F | Fuchsia |
| 6 hex characters | #FFFFFF | White |
| 6 hex characters without hashmark | 808080 | Gray |
| 8 hex characters | #FF00007F | Red at 50% Opacity |
| rgb() | rgb(255,255,0) | Yellow |
| rgba() | rgba(0,255,255,0.5) | Aqua with 50% Opacity |
| RGB values with spaces | 255 255 255 | White |
| RGB values with commas | 255,255,255 | White |
| RGBA values with spaces | 255 255 0 0.75 | Yellow with 75% Opacity |
| color name with alpha | red 0.5 | Red with 50% Opacity |
| 3 hex characters with alpha | 333 .5 | #333333 with 50% Opacity |
| 6 hex characters with alpha | 696969 .5 | DimGray with 50% Opacity |
- Linear Gradient
- Radial Gradient
- Image
- Hatching
Default Font Settings
You can define the font settings for the whole dashboard or Create a Dashboard Template. All items on the dashboard will default to these settings, but you can still override them when necessary by setting font properties separately on an individual item. With nothing selected on the dashboard, open the Properties panel and go to the Text tab. Or select an empty area of the canvas and the Quick Access Properties pop up opens, giving you access to most of the same options.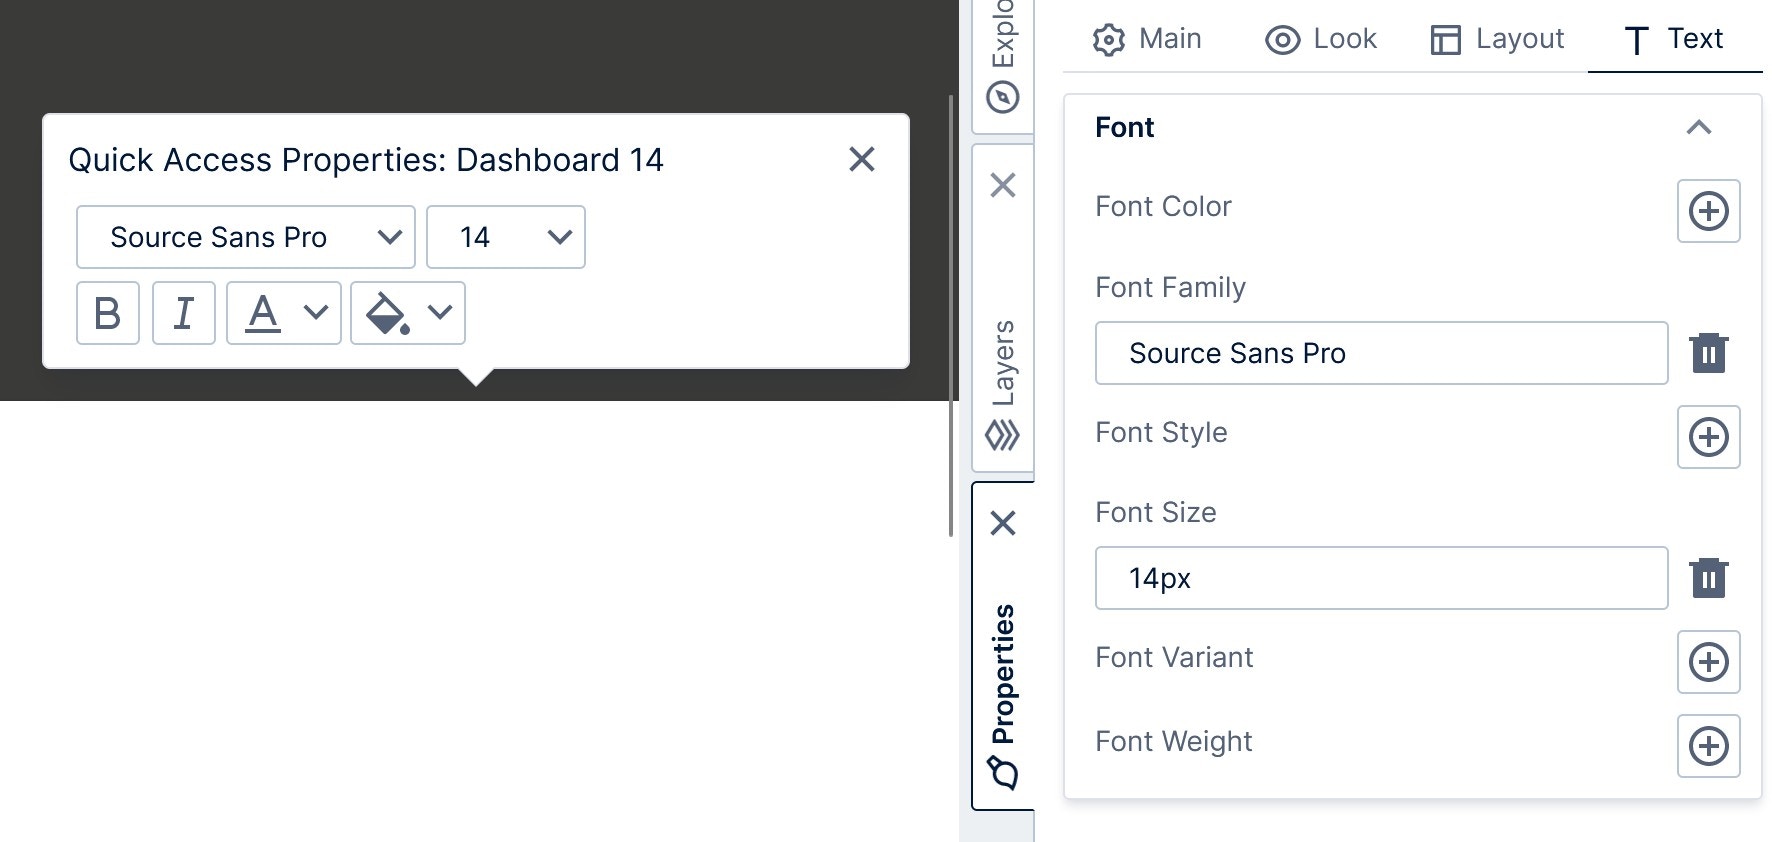
Note: All web browsers render fonts slightly differently. For example, this may cause a table visualization in some browsers to show a vertical scrollbar that does not appear when using other browsers. In most cases, you can resolve such issues by resizing the table a bit larger. Alternatively, check that the sizing looks correct in other browsers.
Re-Size Action
You can add a Re-Size script action on a view such as a dashboard to respond when the view is resized. This may occur when the user resizes their browser or when the orientation is changed on the user’s device (orientation changes may not always be detected because some devices fire a different event in this situation). Scripting the Re-Size action may be useful for responsive design. For example:- Add a script to detect a change in screen width (e.g., from 500 px to 1200 px), and then show or hide layers in response.
- Add a script to detect a change in screen width, and then redirect to another dashboard more suited for the size of the screen.
Align Content
As you drag or resize any item, contextual guidelines (dotted lines) appear to help you align it with other content. When your item snaps into alignment with another, a red line is displayed along the points that are being aligned (such as the center or edge of each element), and the outer boundaries of the other items appear.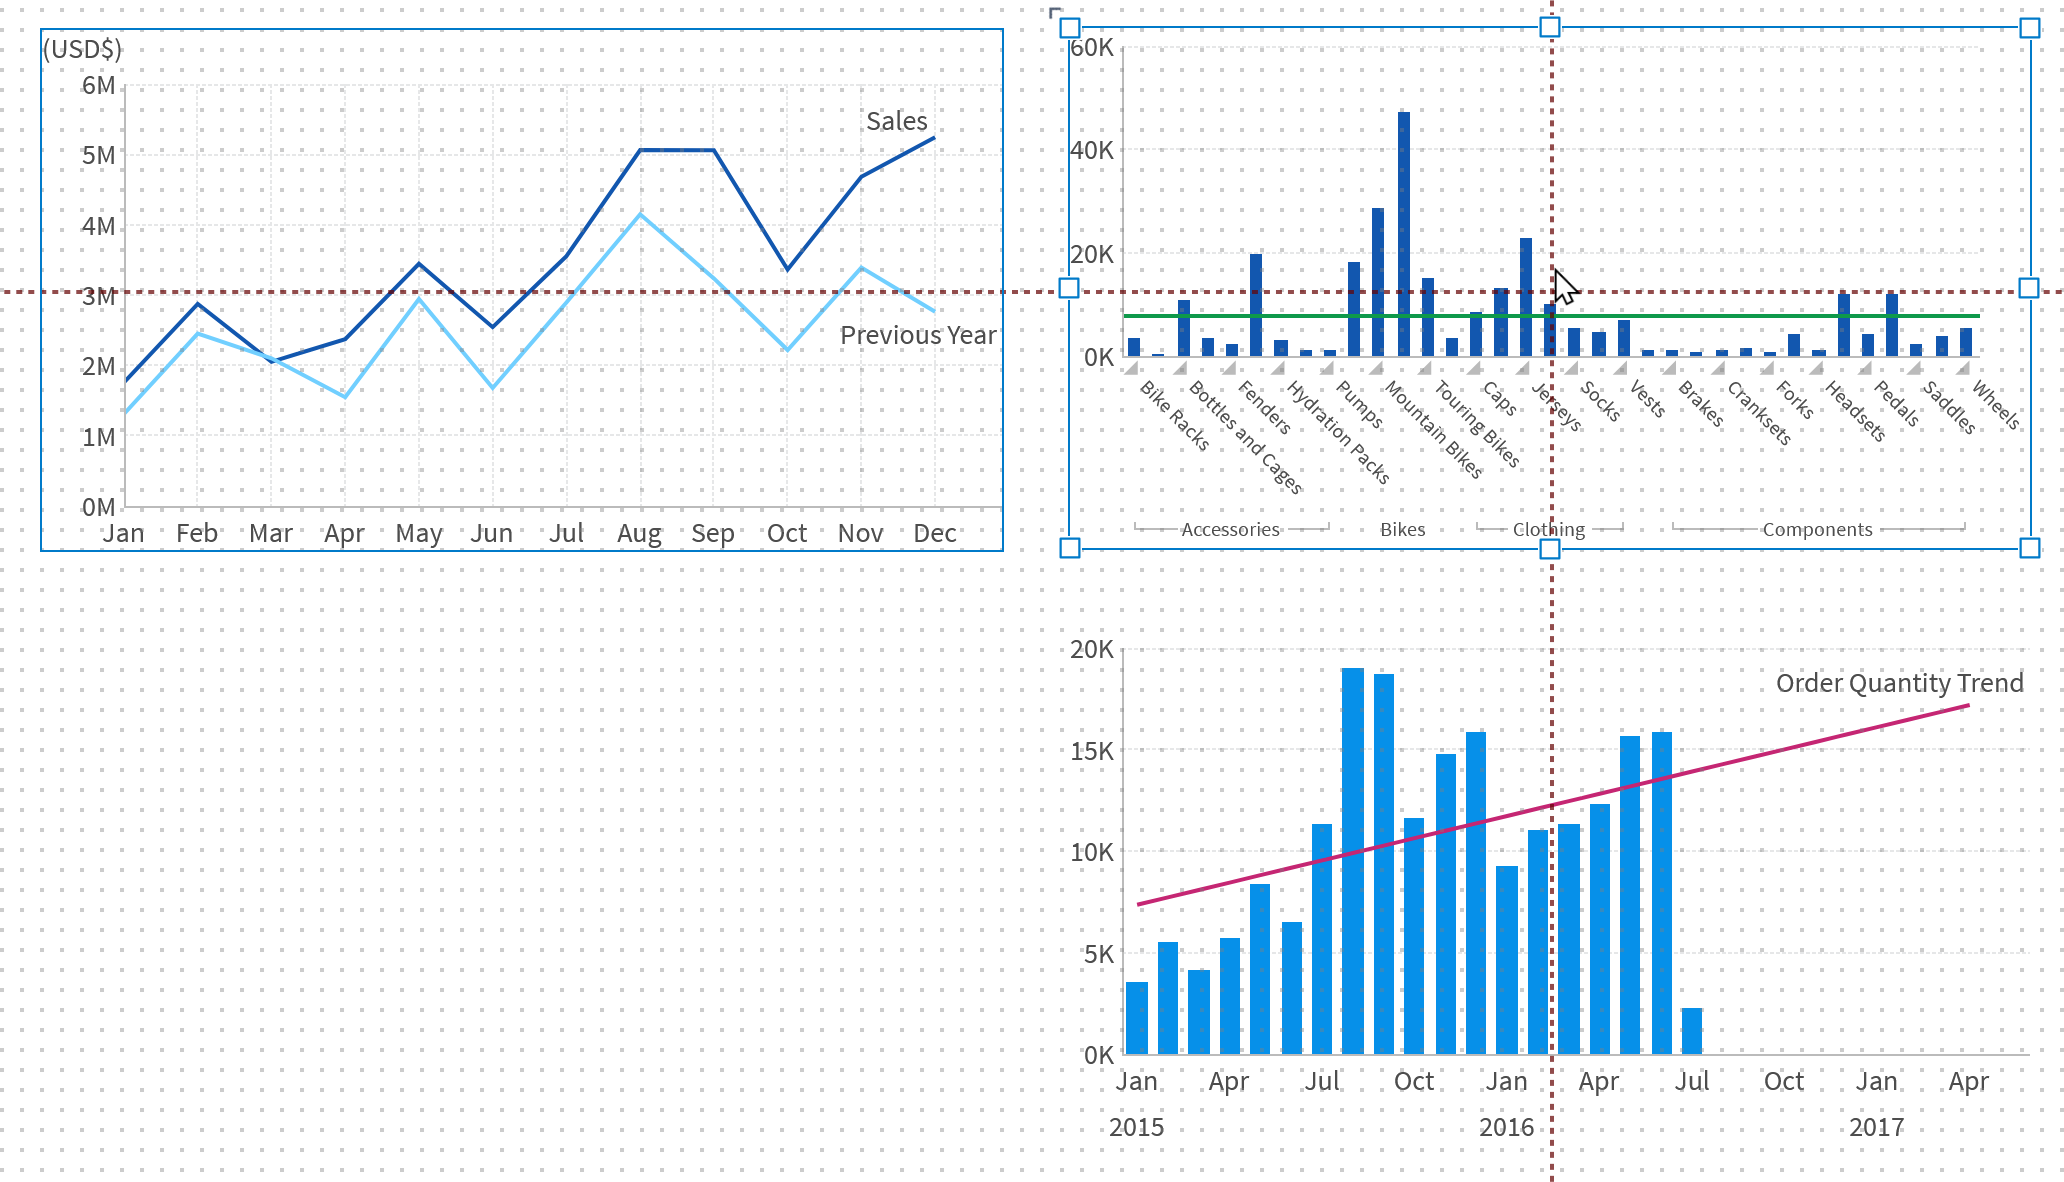
Arrange Multiple Items
When multiple elements are selected, you can adjust their alignment using the Arrange option on the toolbar.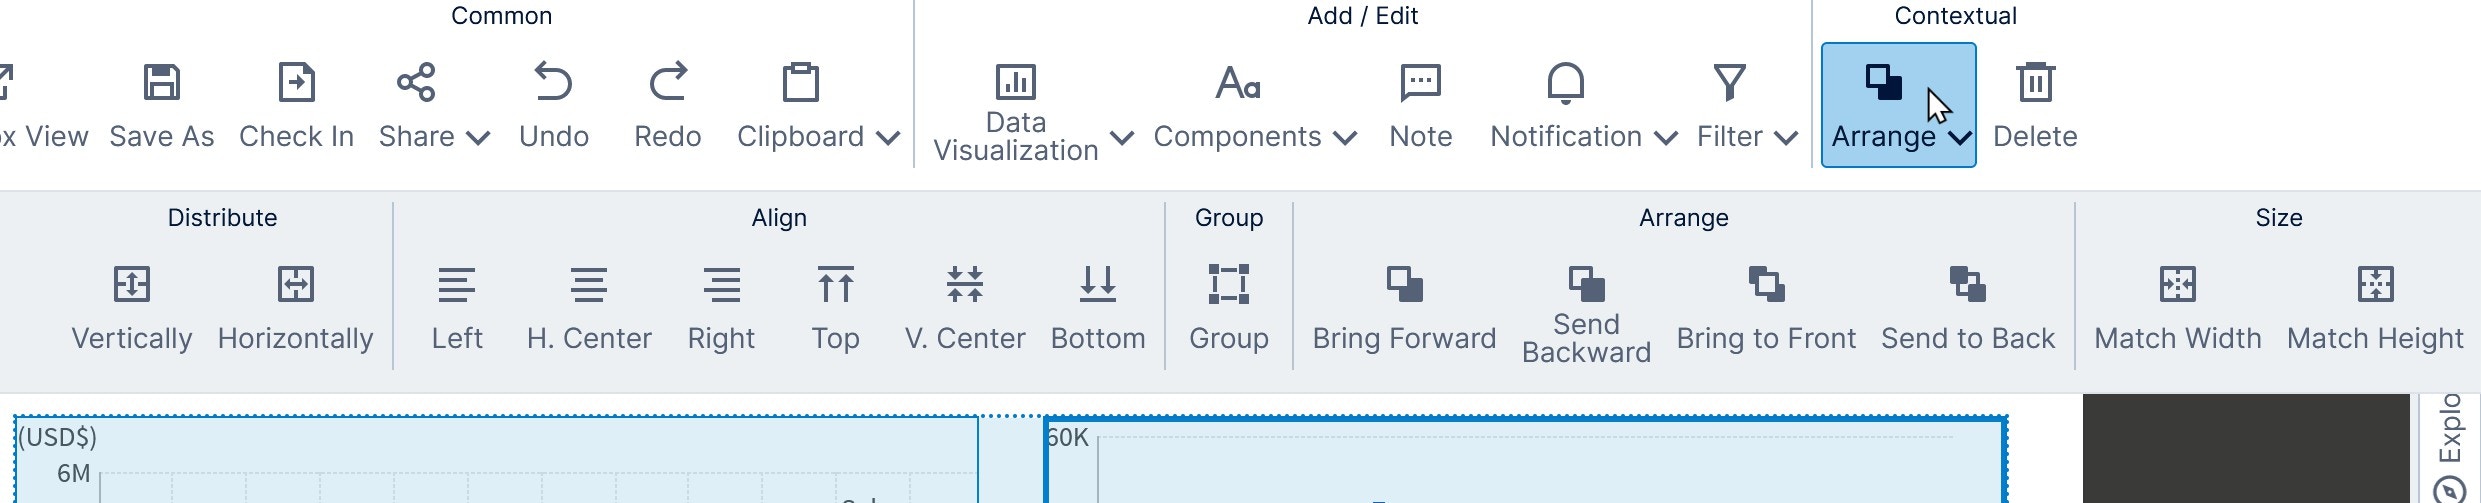
Note: The options Match Width: and Match Height: will match the last- selected item, which will be indicated by bold borders.
Resize Within Template Grid
Double-click the resize handle of an element that has been placed within a template grid cell to expand/contract that side or corner to the template cell’s edge or corner.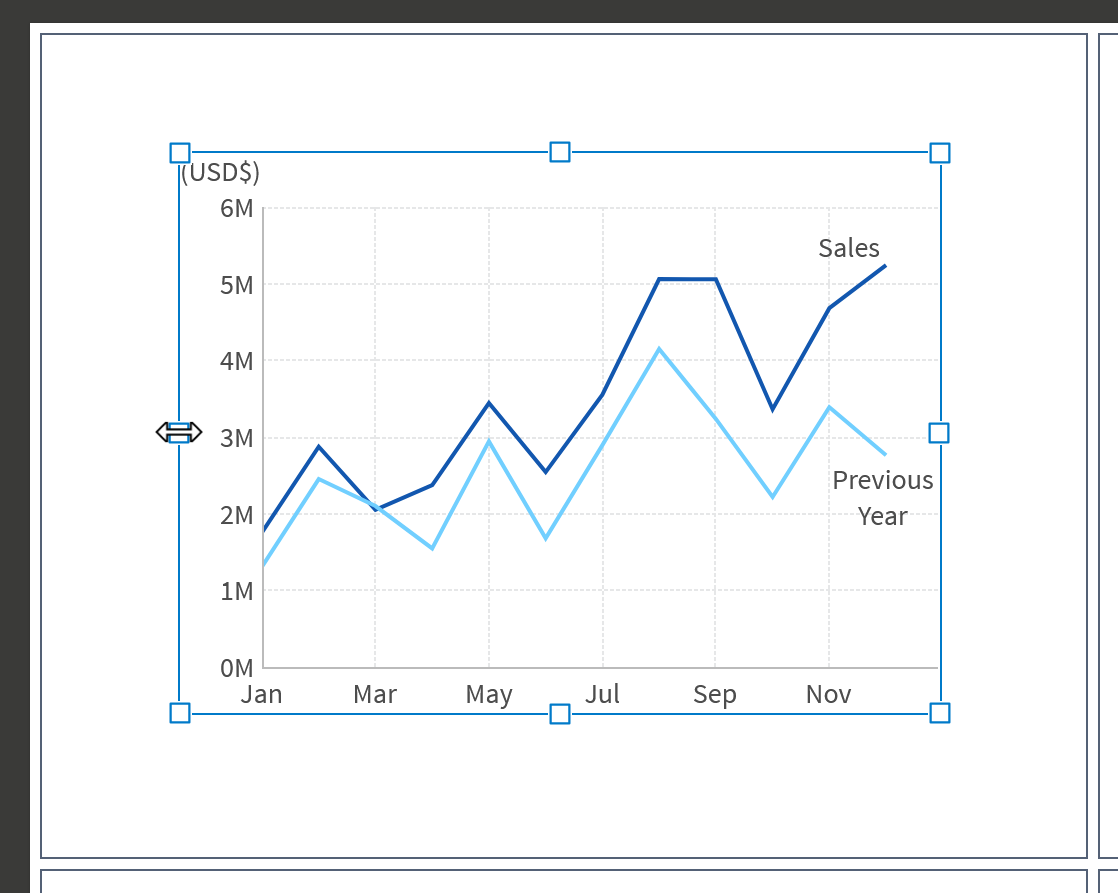
Select Overlapping Items
When elements are overlapping each other, it can be harder to select elements below the one on top when you want to re-position them or change their settings. You can right-click or long-tap any of these elements and choose Select to choose from a list of the overlapping items.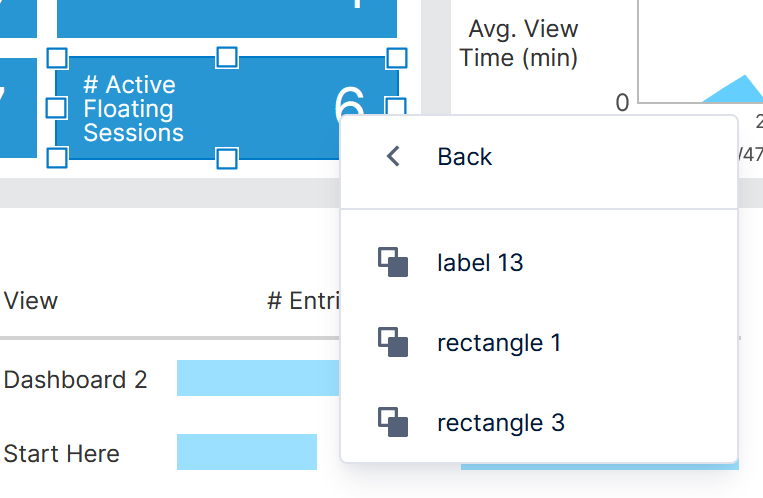
Note: Another option is to use the layers window to select from a list of all elements.
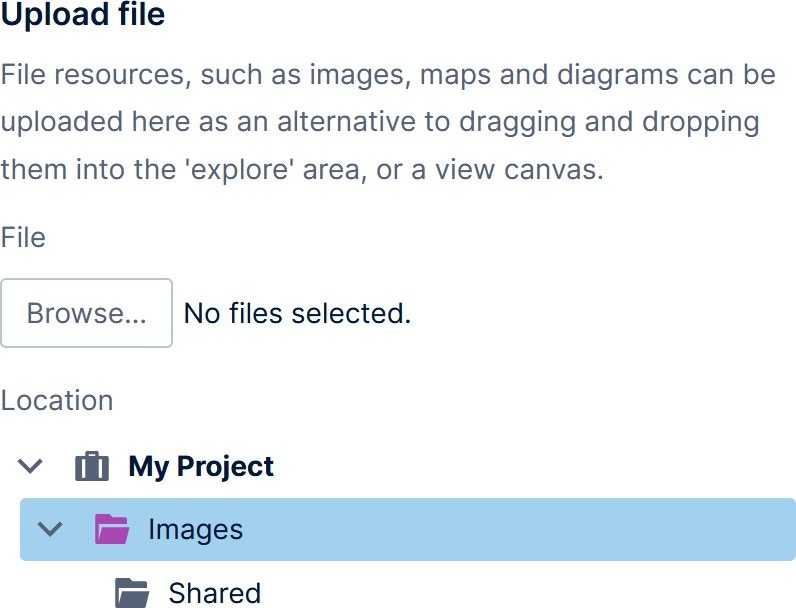
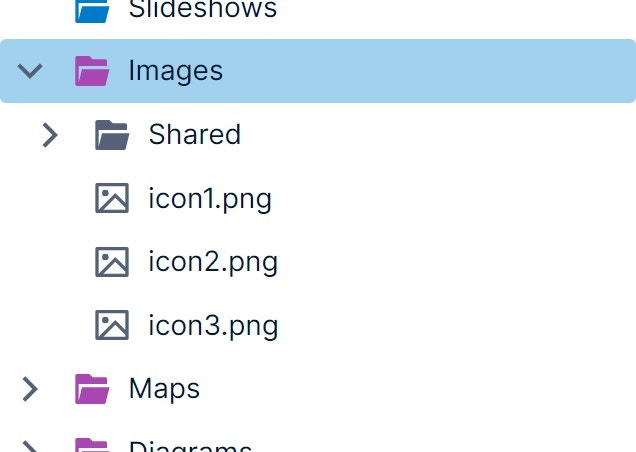
Upload Multiple Files
Instead of using drag-and-drop, you can upload one or more image files, maps, or diagrams to folders in the Explore window using a context menu option. For example, right-click on the Images folder and select Upload File.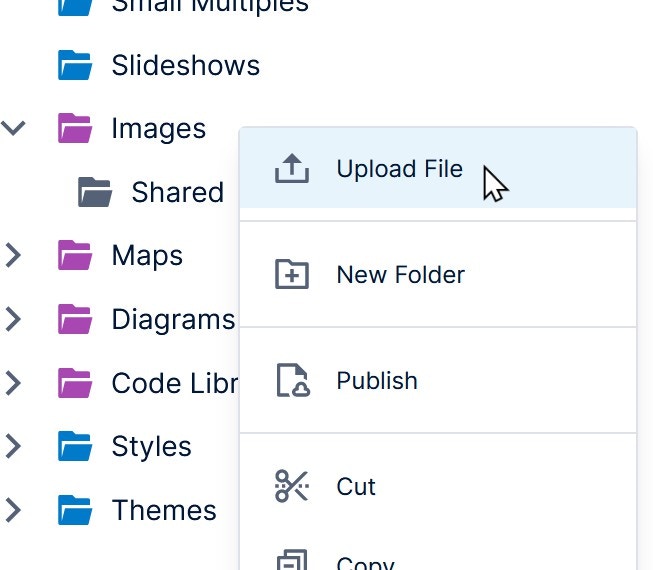
- Design Overview
- List of Keyboard Shortcuts
- Using a Template Grid for Resizing
- Layers and Groups
- Design Tips for Reports and Scorecards