Creating a Template
To create a new template, click on Views in the menu, click Create, and then click New Template. Your new template is edited just like a new dashboard, and is saved under the Dashboards folder.Adjust the Properties
You can adjust some canvas properties that will affect all of the dashboards based on this template. This includes changing the canvas background, the re-size mode, and the font settings. For example, open Properties and indicate the default font settings in the Text tab.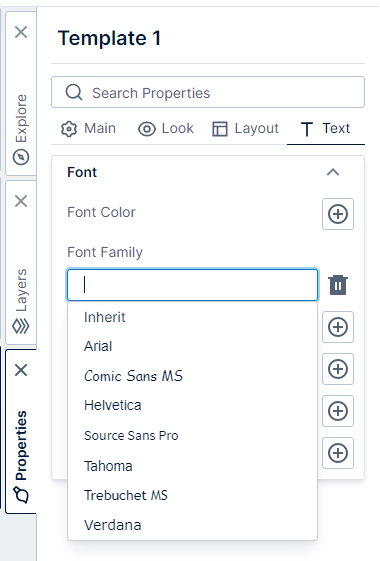
Note: This will define the default dashboard-wide font settings, which can be overridden on individual elements.
Add Elements
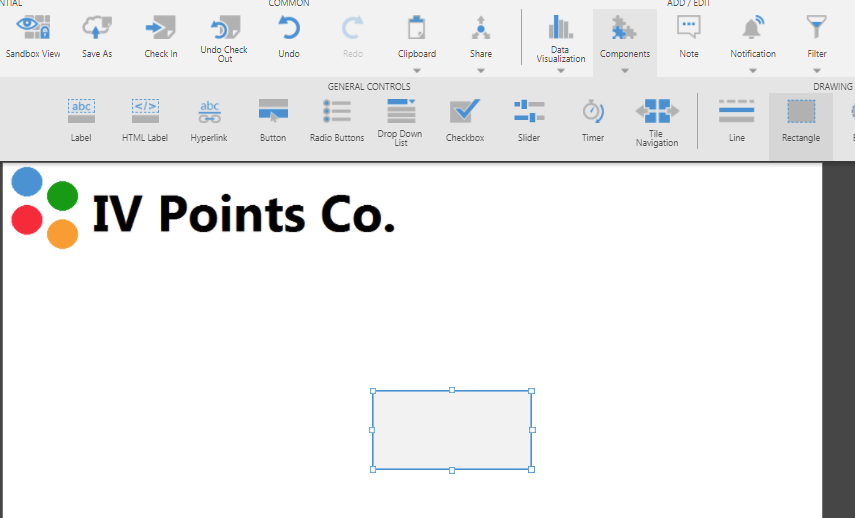
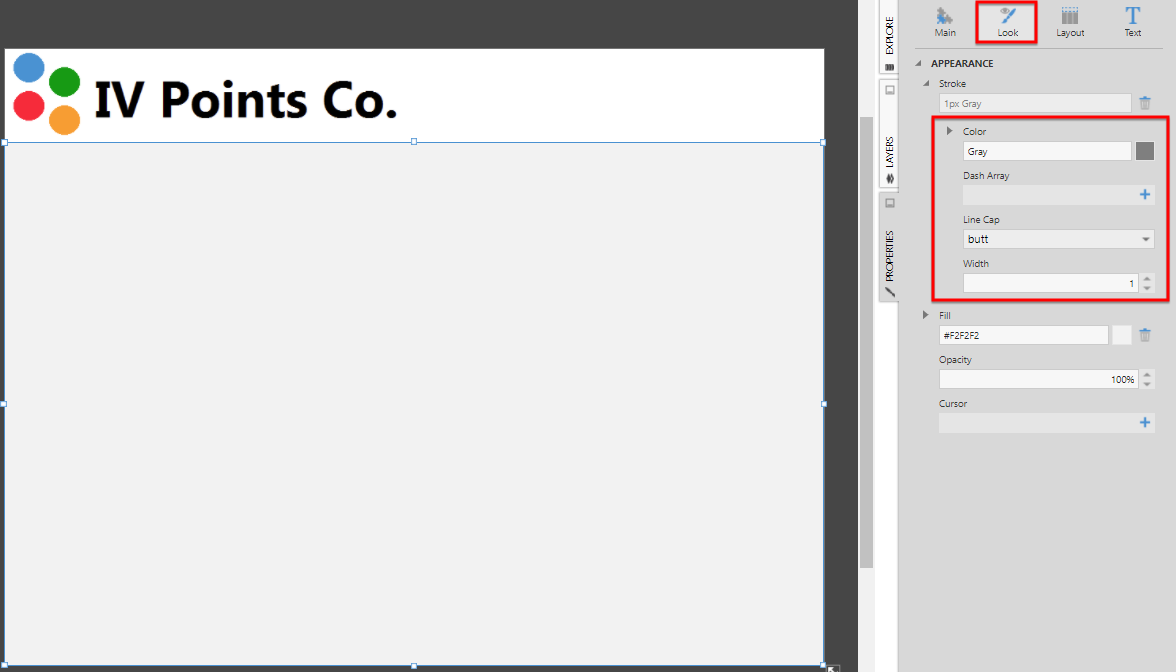
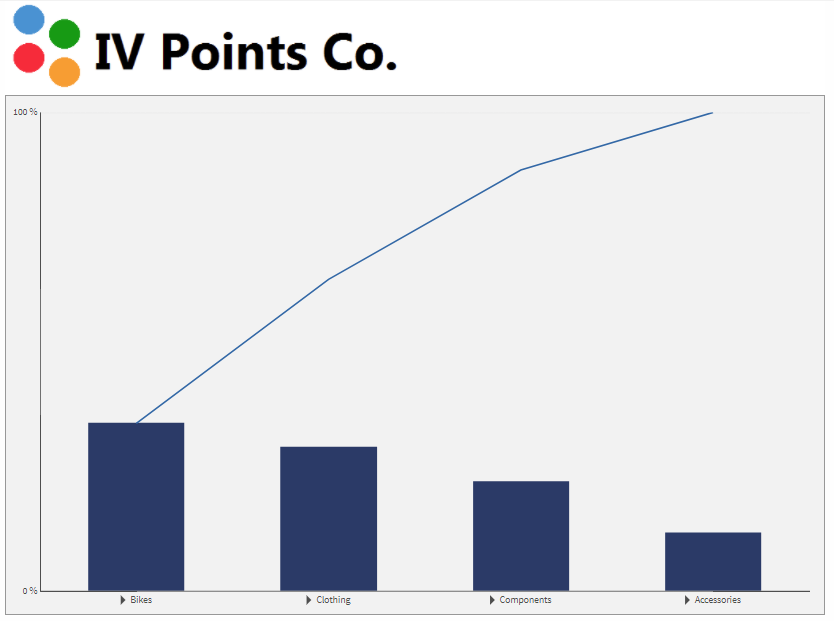
You can add elements to the canvas for your template just like you would for a regular dashboard. For example, drag an image file from Windows Explorer or Finder and drop it directly onto the template canvas. The image can be used as a banner for a series of related dashboards.
Using a Template
- You can use a template when you create a new dashboard: click Views in the main menu, click Create , and then choose a template from the list that includes the templates you created.
- When editing an existing dashboard, click an empty area of the canvas to de-select any elements, click Template in the toolbar, and then choose Use Existing Template.
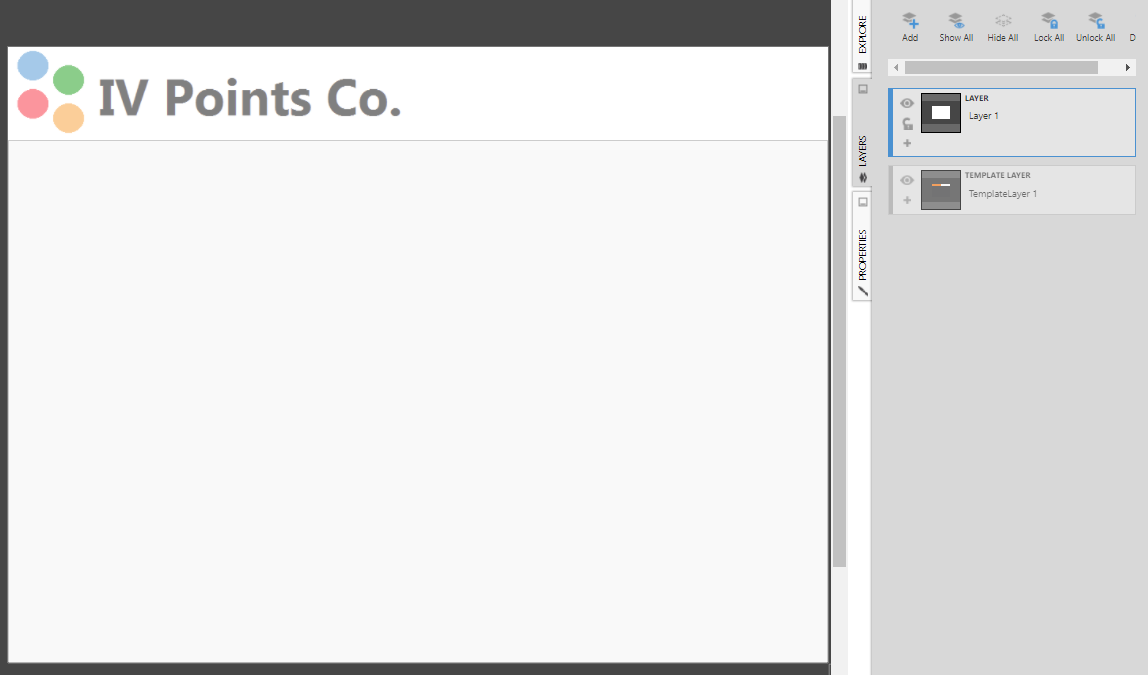
Note: You cannot reorder template layers in the Layers window. You can, however, reorder regular layers relative to the template layers.
Detaching a Template
In some situations, you may need to change the template on one dashboard without it having an effect on the other dashboards. With nothing selected on the canvas, click Template in the toolbar, then Detach Template.Note: The option to Detach Template will not be available if there is a conflict of IDs or script names between the template and dashboard. This may happen if you manually changed script names in a conflicting manner.
- Video: Dashboard Template
- Layers and Groups
- Using a Template Grid for Resizing
- Design Overview
